Thank heavens! Those blue-white, sunless days and bare-tree, frozen landscapes are behind us. Now for months and months of sunny skies, sandy beaches, blooming flowers, and fun in the outdoors! Spring is a season to celebrate colors, scents, flavors, and textures. It’s the perfect time to create nature-inspired art. If you’ve got yourself a comfy porch or a cozy backyard, grab your little one and let’s do some springtime crafting! Oh, and we figured since nature is our muse, why not produce some Earth-friendly creations? Keep reading to explore 8 best-out-of-waste activity ideas that are sure to bring out your kiddo’s creativity and make for a colorful spring celebration!
Paper flowers with cork-stamp petals
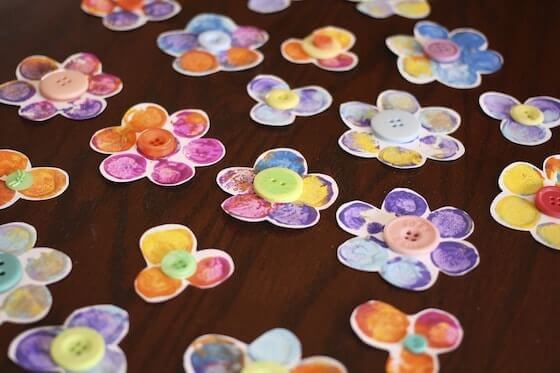
Got scraps of white paper lying around the house? Got old bottle corks sitting discarded in some corner of your kitchen? Go, get ‘em! Jackie, from
Happy Hooligans, has the perfect
recipe to turn them (and your motley collection of lost-and-found buttons) into spring art. Just put some bottle corks together in the shape of a flower using a rubber band, mix some colors, dip your freshly-made bottle-cork stamps into the colors, and stamp away on a sheet of paper. Cut out the flower shapes, and stick buttons in their centers. Voilà! Flowers with cork-stamp petals! Attach little painted candy sticks to the backs of these adorable creations, pop a bunch of them into a pretty vase, and set them all over your home!
Dragonflies but make them out of clothespins
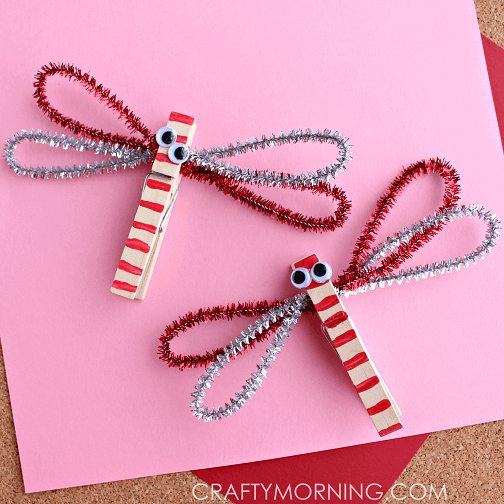
Ah, the pretty dragonfly! Oh, the boring clothespin. Wait, what if they were one and the same thing? It’s possible, but we’ll need help from some fuzzy pipe cleaners. This
Crafty Morning project is our personal favorite because it’s so darn easy! You won’t need much by way of materials, and you won’t need to do much either. First, get to work painting the clothespins with your kid. They can flex their creative muscles during this part. Now, stick on some googly eyes to add a touch of personality to the dragonflies. Next, bend your pipe cleaners and glue them on as directed
here. That’s it! Your dragonflies are ready to take to the skies!
Kidd Tip: Glue magnets to the backs of your dragonflies to create adorable fridge magnets! Perfect for holding up your little one’s priceless art, don’t you think?
Zipper pouches out of old plastic bottles
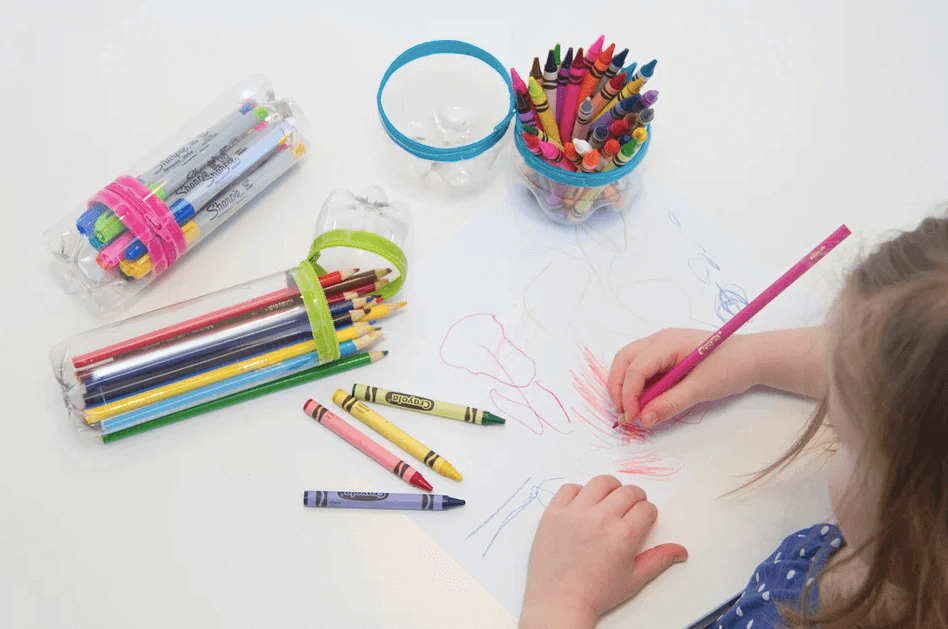
There’s so much you can do with old plastic bottles, but
this is one of the most thoughtful yet simple ideas we’ve chanced upon. The best part is it involves NO sewing (does happy dance)! Apart from some old bottles, all you’ll need are zippers, glue, and a pair of scissors. There’s nothing to it except cutting the bottles, gluing the zippers on, and organizing your kid’s stationery into their brand new pouches. They will enjoy this part!
Make It & Love It has done a brilliant job of providing tips at every stage. You might find yourself making a pouch for yourself too!
A birdhouse cut out of an old milk carton
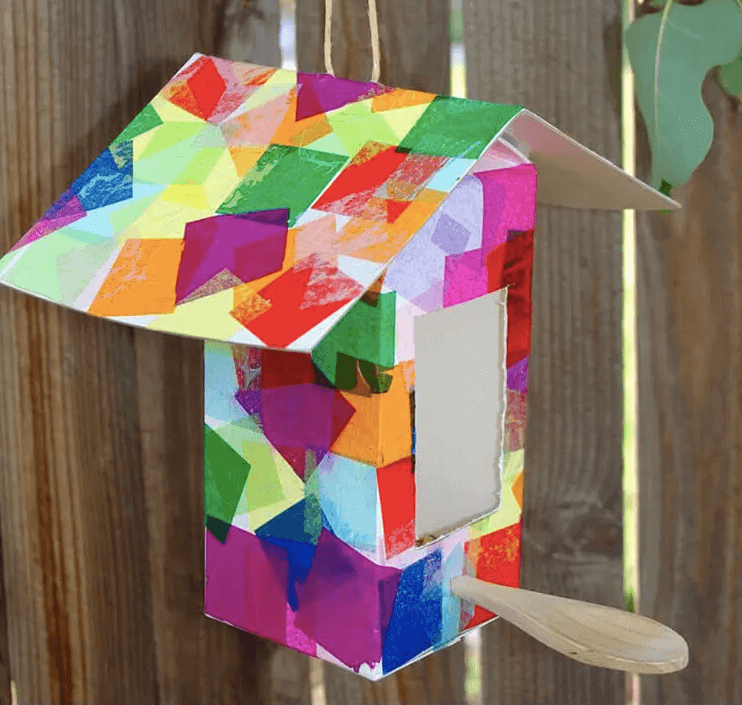
All hail the milk carton! There isn’t a food container in the world that can compete with its versatility in the realm of upcycling and recycling. It can even be turned into a home for birds! Heidi from
Happiness is Homemade will show you just
how. You’ll need a few things apart from your milk carton: cardboard, glue, white paint, a paintbrush, colored tissue paper, twine, a wooden spoon, and a hobby knife. It sounds like a mouthful, but this is a quick craft. Your tiny artist can do the painting and gluing while you do the cutting. You can even turn this project into a bird feeder. How cool is that!
Kidd Tip: Since we’re putting Mother Nature first with these spring-themed activities, how about using scraps of gift wrapping instead of buying colored tissue paper for your birdhouse?
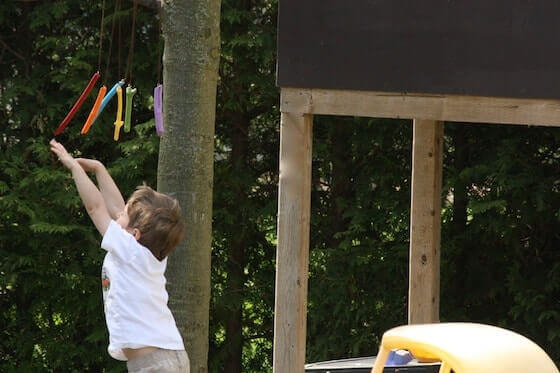
A rainbow wind chime from scavenged twigs
There’s no better time to bring out rainbow colors than springtime! There’s also no better eco-friendly craft than one that utilizes objects available in nature. That’s why we love
this project by Jackie from
Happy Hooligans. Head out for a nature walk with your kid, and have them collect little sticks. To make the chime, peel and sand the sticks after ensuring they’re just the sizes you want. We bet your little hooligan is going to fall in love with the peeling & sanding bit. Add screw eyes to the top of each stick, and string ‘em up wherever you like (preferably in a windy spot!).
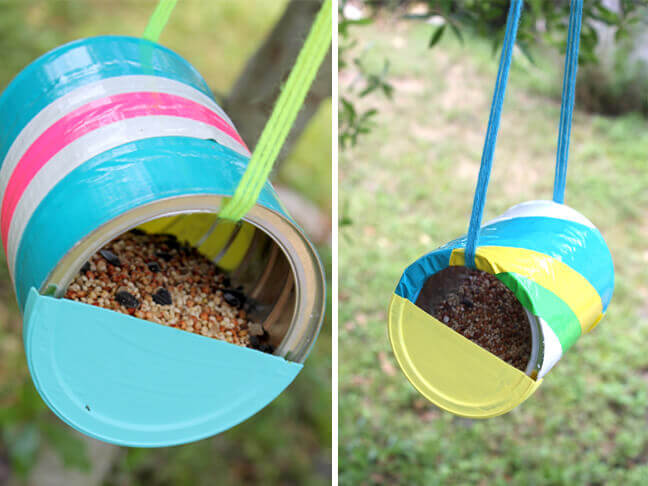
A bird feeder that was once a coffee tin
There’s a lot to love about spring, including its sounds. One of our favorite springtime sounds is birdsong. Don’t you just love the way little birds pay you a visit and sing sweetly? Why not create a little
bird feeder so the birds have an incentive to visit more often? You’ll need a short list of tools but nothing over the top. Clean out an empty coffee tin. Cut out the tin lid, and cut the plastic lid in half. Paint the plastic lid halves, and decorate the outside of the tin with duct tape. Cut some yarn or ribbon, and string it through the can, as you see in the image below. Done! Fill your feeder with fresh birdseed and hang it in your window or on your porch. It’s sure to be a source of some happy snacking for your kiddo’s feathery friends!
Kidd Tip: This is a list of Earth-friendly crafts, right? Why not swap out the duct tape for paints? Go wild (and let your kid) with patterns and designs!
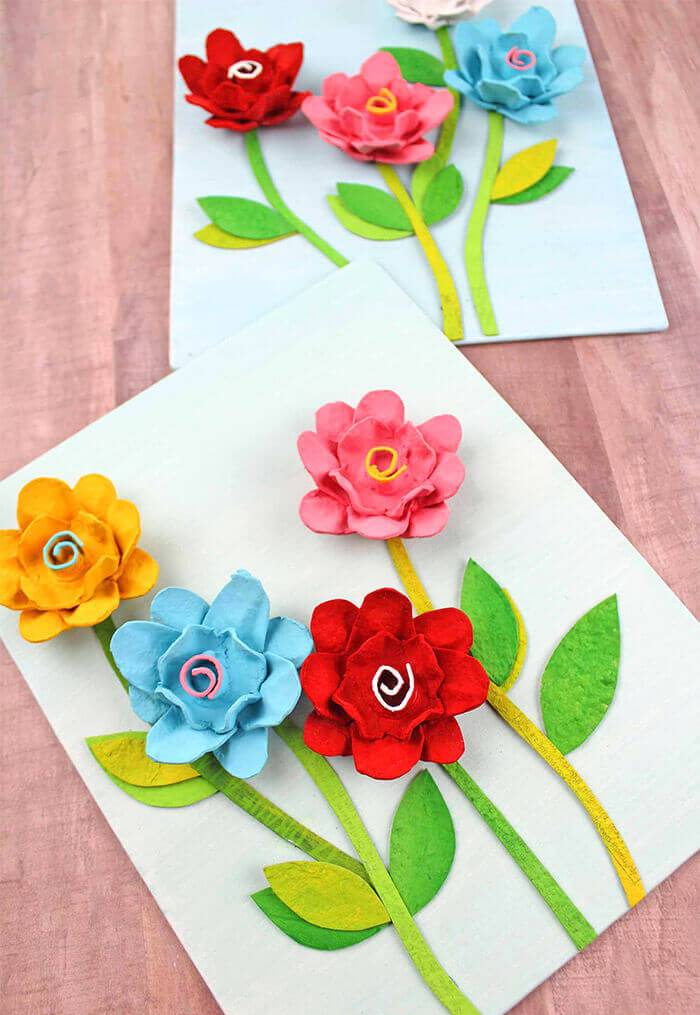
3D flowers carved out of old egg cartons
Let’s make more flowers!
This project by
Easy Peasy and Fun is a great way to recycle discarded egg cartons and similar containers. You’ll need the cartons, some paint, glue, scissors, a paintbrush, and canvas or cardstock. Cut the cavities of your carton/container out, and cut and shape their sides to form petals. Don’t waste the rest of the carton; use it to cut stems and leaves! Make three flower shapes of varying sizes for each flower. (Use the image above as a reference.) Make spirals for the centers of your flowers, and start painting! Grab your canvas/card stock, and glue your flower shapes and spirals one on top of the other onto it. Add your leaves and stems, and behold the prettiest 3D flowers ever made from waste!
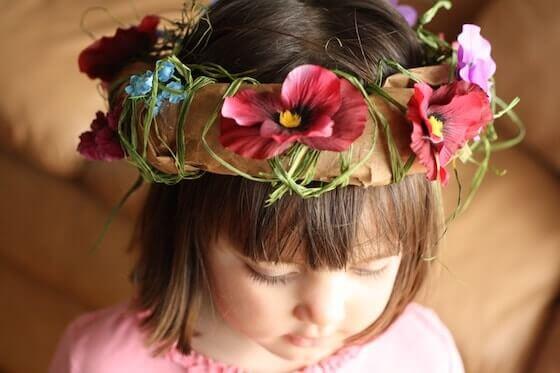
A nature-inspired tiara from an old paper bag
Who doesn’t love a pretty tiara? The final springtime craft on our list is another brainchild of Jackie from
Happy Hooligans, and, just like the rest of the crafts on this list, it’s a crazy easy one. To make your nature-inspired tiara, you’ll need a paper bag, a glue gun, and some artificial flowers and green raffia. Snip off the bottom of the bag and roll the edges outward into a ring. Take care not to tear the bag. Glue any loose ends down, and let your child take over (Jackie’s advice!). We can just imagine the fun they’ll have gluing the flowers on. You can step in to help wind the raffia around your little springtime tiara!
Kidd Tip: Remember those pretty cork-stamp flowers from the start of this blog? What if you left the candy sticks off, didn’t stick the flowers in a vase, and instead, used them to decorate your tiara (no buying, no waste!)?
We’d love to see your spring beauties! Thinking of taking a stab at one of these crafts? Share the result with us! Drop us a message on Instagram (
@kiddopia), and get featured in our stories. Happy crafting!